| Line 14: | Line 14: | ||
Additionally, after the initial broadcast, the time on the server is set to "day" and any rain or fog is cleared. | Additionally, after the initial broadcast, the time on the server is set to "day" and any rain or fog is cleared. | ||
If you travel to the conquest rebel to gear-up for the event, you will have god-mode in the conquest rebel's safe zone until you shoot your weapon, leave the zone, or until 5 minutes pass. The conquest rebel safe zone extends 200 meters from the rebel marker in all directions. Once the conquest begins, anyone on the server that dies afterwards will have the option to spawn at the conquest rebel(s). Once you lose safe-zone protection, you can be shot and killed. Players that have this safe-zone protection will have a shield icon above their head. | If you travel to the conquest rebel to gear-up for the event, you will have god-mode in the conquest rebel's safe zone until you shoot your weapon, leave the zone, or until 5 minutes pass. The conquest rebel safe zone extends 200 meters from the rebel marker in all directions. Once the conquest begins, anyone on the server that dies afterwards will have the option to spawn at the conquest rebel(s). Once you lose safe-zone protection, you can be shot and killed. Players that have this safe-zone protection will have a shield icon above their head. It’s good to note when you are in smoke nametags will start to appear when you are within 5m of a player. | ||
To capture a conquest point: walk up to the flag pole, aim at the flag pole, use the scroll wheel to find the capture option, and then stay within 15m of the flag while capturing to complete the progress bar. It takes 45 seconds to capture a conquest point. Doing this will capture the point for the gang you're in. | To capture a conquest point: walk up to the flag pole, aim at the flag pole, use the scroll wheel to find the capture option, and then stay within 15m of the flag while capturing to complete the progress bar. It takes 45 seconds to capture a conquest point. Doing this will capture the point for the gang you're in. | ||
Revision as of 06:50, 14 November 2021
Monks
Introduction
Although conquest events are automatic, they can also be scheduled and conducted by event coordinators and/or members of the Olympus staff team. Conquest is a brand new challenge for cartel fighters and large gangs alike.
Each gang's basic goal at a conquest event is to hold as many of the three capture points for as long as possible.
Mechanics
When conquest is about to begin, the zone will show in a yellow color. The conquest event begins 10 minutes after the initial broadcast.
Additionally, after the initial broadcast, the time on the server is set to "day" and any rain or fog is cleared.
If you travel to the conquest rebel to gear-up for the event, you will have god-mode in the conquest rebel's safe zone until you shoot your weapon, leave the zone, or until 5 minutes pass. The conquest rebel safe zone extends 200 meters from the rebel marker in all directions. Once the conquest begins, anyone on the server that dies afterwards will have the option to spawn at the conquest rebel(s). Once you lose safe-zone protection, you can be shot and killed. Players that have this safe-zone protection will have a shield icon above their head. It’s good to note when you are in smoke nametags will start to appear when you are within 5m of a player.
To capture a conquest point: walk up to the flag pole, aim at the flag pole, use the scroll wheel to find the capture option, and then stay within 15m of the flag while capturing to complete the progress bar. It takes 45 seconds to capture a conquest point. Doing this will capture the point for the gang you're in.
When your gang owns a capture point, your gang will gain 5 conquest points per 5 seconds that it holds that capture point. Members of your gang can retrieve vehicles from the capture point's flag. There will always be three capture zones for each conquest map.
There is a 10 player gang/group cap during conquest. Groups with more than 10 people will not receive points until 5 minutes after the 13th player leaves.
There will also be designated capture points that will be converted into Hot Zones which are worth X2 points when captured. hot zones will display a 3 minute notification stating which point will be selected. The hot zone will remain active for 7 minutes, after which, there will be a new notification showing where the hot zone will be moved.
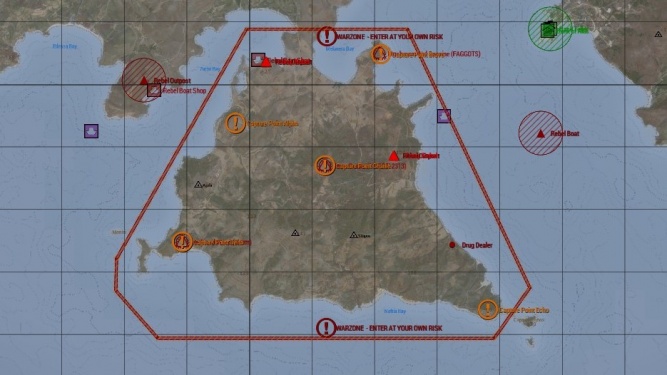
The first gang that collects 3,000 conquest points, 1,000 points per each of the three capture points, will win the conquest event. The exception to this is on the warzone map where there is 5 capture points. A gang must collect 5,000 conquest points on this map to win.
Rewards
The pot of reward money starts at $10,000,000.
When a player dies within the conquest zone, the value of their gear is added to the pot.
At the end of the event, the reward money is split between gangs proportional to scored points. For example, if one gang has 3,000 points and another gang has 1,000 points - the gang with 3,000 points is rewarded 75% of the total pot.
The 1st place gang's reward is then increased by 10%. 2nd place is increase by 5%. 3rd place is increased by 3%.
Additional money will be placed into the top 3 gangs' gang funds upon the end of a conquest. 1st place: $1,000,000 2nd place: $500,000 3rd place: $250,000
Altis Conquest Maps
-
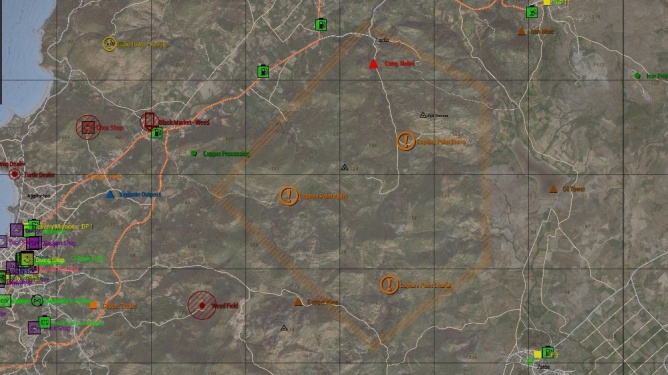
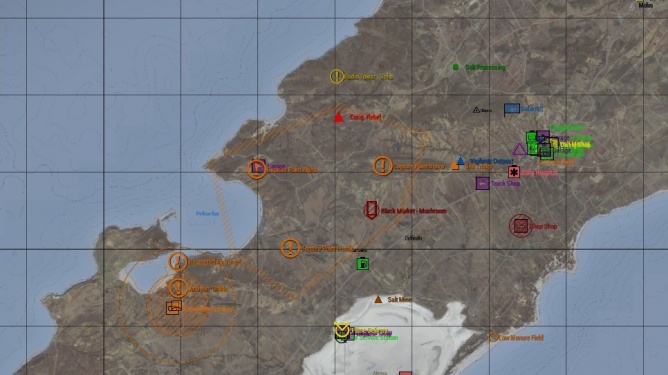
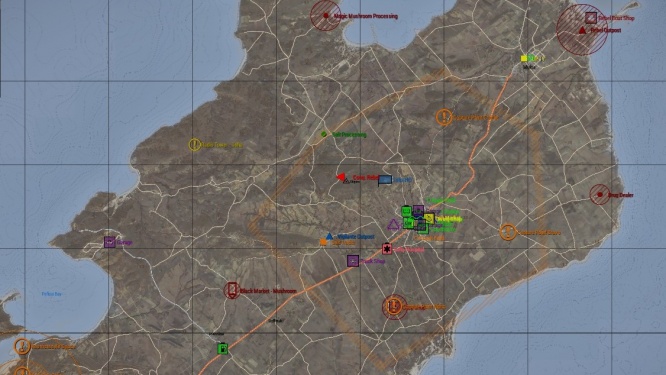
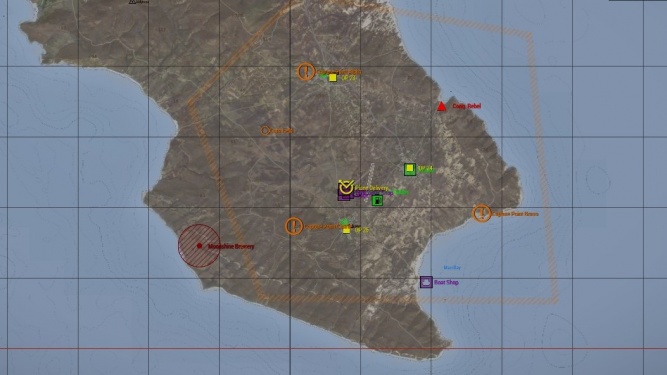
The Kavala conquest map.
-
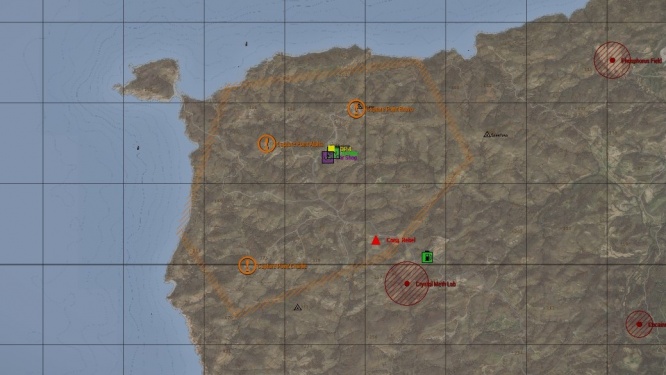
The Oreokastro conquest map.
-
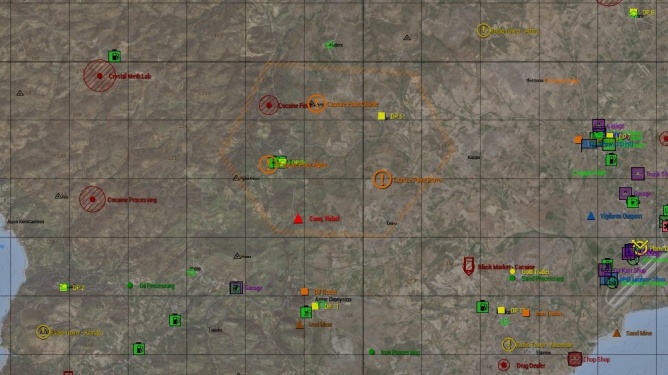
The Syrta conquest map.
-
Warzone conquest map.
-
The Niri conquest map.
-
The Ghost Hotel conquest map.
-
The Sofia conquest map.
-
The Panagia conquest map.
Altis Life Map Download Instructions
- Navigate to the Olympus Missions Google Drive Folder. Select the folder labeled “Altis”. In the other folder, labeled conquest, you will be able to download the Olympus Conquest mission files if you wish to participate in the event.
- Select the .pbo file inside the folder and double-click it to begin downloading the file.
- Open up the Windows run dialog (Windows Key + R) and enter the following directory: %localappdata%\Arma3\MPMissionsCache
- Place the Altis Life file into the “MPMissionsCache” folder and start ArmA 3.
- Connect to either Olympus #1 or Olympus #2 (The latter is open 5:30 PM-1:30 AM EST) and you will now be able to play Olympus’ Altis Life.
Custom Map Download Instructions
- Navigate to the Olympus Missions Google Drive Folder. Select the folder labeled "Conquest". In the other folder, labeled Altis, you will be able to download the Altis life mission file if you otherwise cannot in-game.
- Find the desired map in the folder and double click it to begin downloading the file.
- Open up the Windows run dialog (Windows Key + R) and enter the following directory: %localappdata%\Arma 3\MPMissionsCache
- Place the desired map files into the "MPMissionsCache" folder and start ArmA 3.
- Connect to the Olympus #3 conquest server and you will now be able to participate in the conquest.

